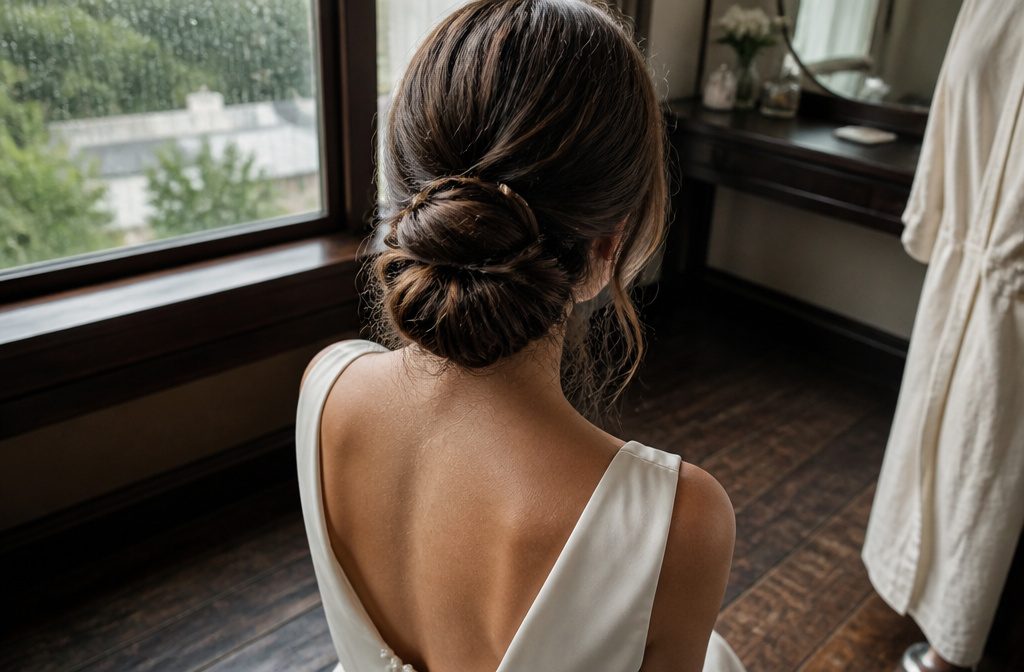
These 12 updos run from a loose half-up to a pinned-tight ballerina bun, and the one that decides which is yours is how long your day is.
Sleek, firmly pinned styles hold from ceremony to reception, while looser ones need extra pins and hairspray if you’re wearing a veil or heavy accessory.
1. Messy High Bun
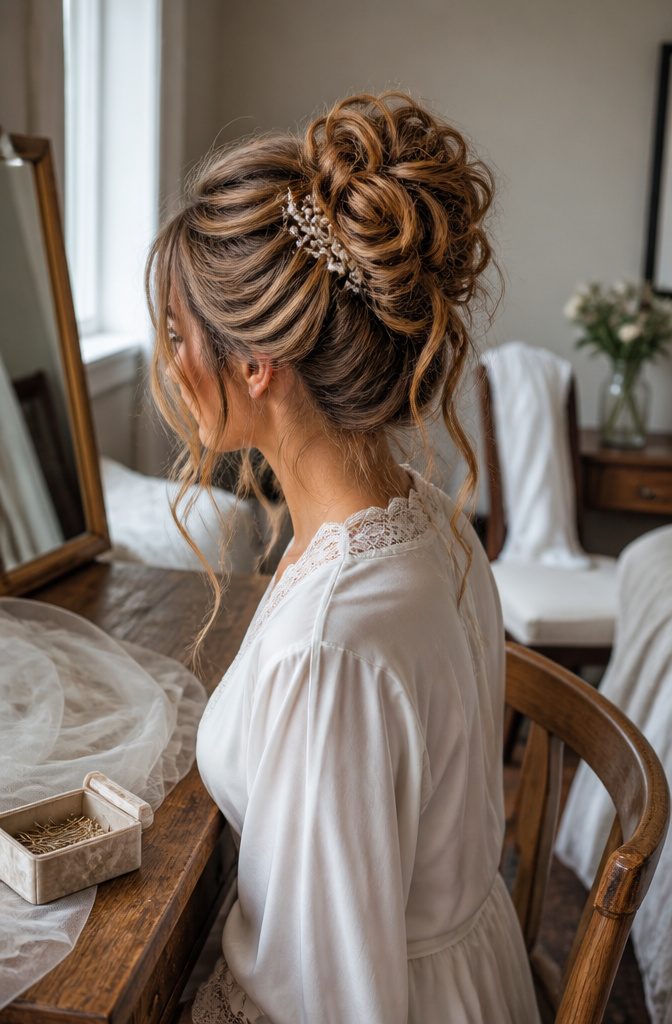
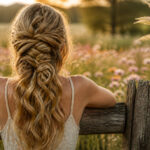
A messy high bun works best when the mess is built in.
Start with loose curls or twisted pieces of hair, then gather them high and let the bun stay relaxed instead of sleek. Curls give the pins something to grip, so the shape holds without looking stiff.
Pull a few strands free at the front. That is what gives the look its romantic edge, and it softens the face far more than a tight, pulled-back finish would.
For security, push pins in at the base of the bun, angled against the direction of the twist, and finish with hairspray. Braided accents or tendrils add texture, and floral pins or pearl combs sit well in the loose structure.
2. Low Chignon
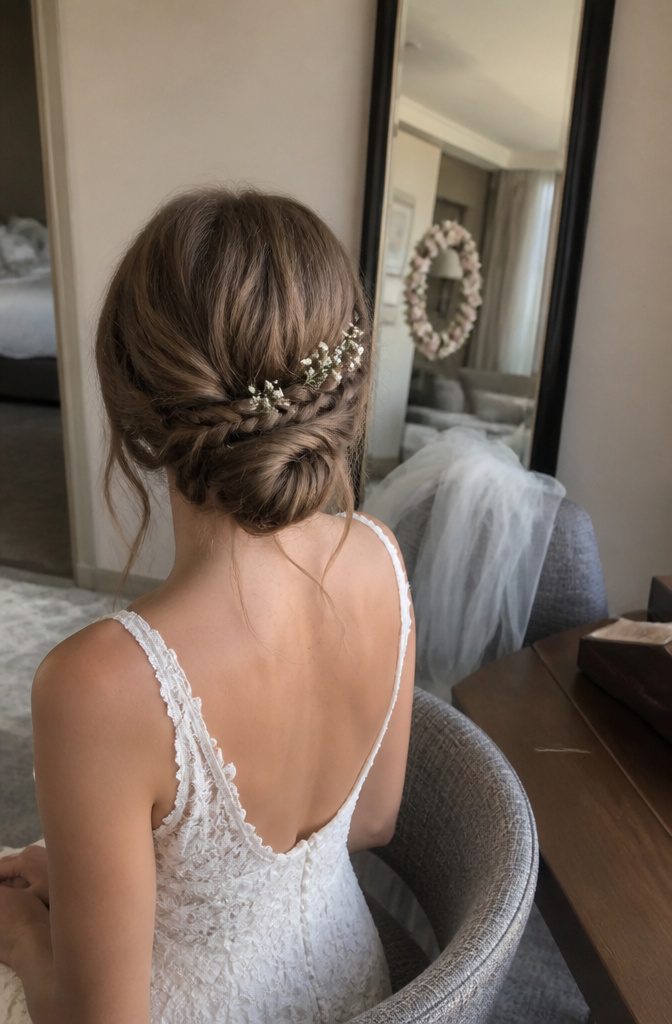
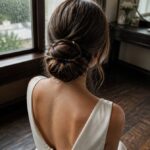
A low chignon is hair gathered at the nape and tucked or twisted into a knot, and it earns its place on a wedding list because it holds up to veils, flower crowns and a long day.
For the basic version, roll the ponytail and pin it at the base of the neck, then pull out a few strands around the face so it reads soft instead of severe.
Three variations are worth showing your stylist.
A side braid with loose strands pushes it toward boho. Baby’s breath or a flower crown makes it romantic.
Stiff, precisely placed pin curls give a ringlet chignon, which suits Black hair well; book a stylist who specializes in that texture. For black-tie, keep it smooth and add one decorative accessory.
3. Twisted Updo
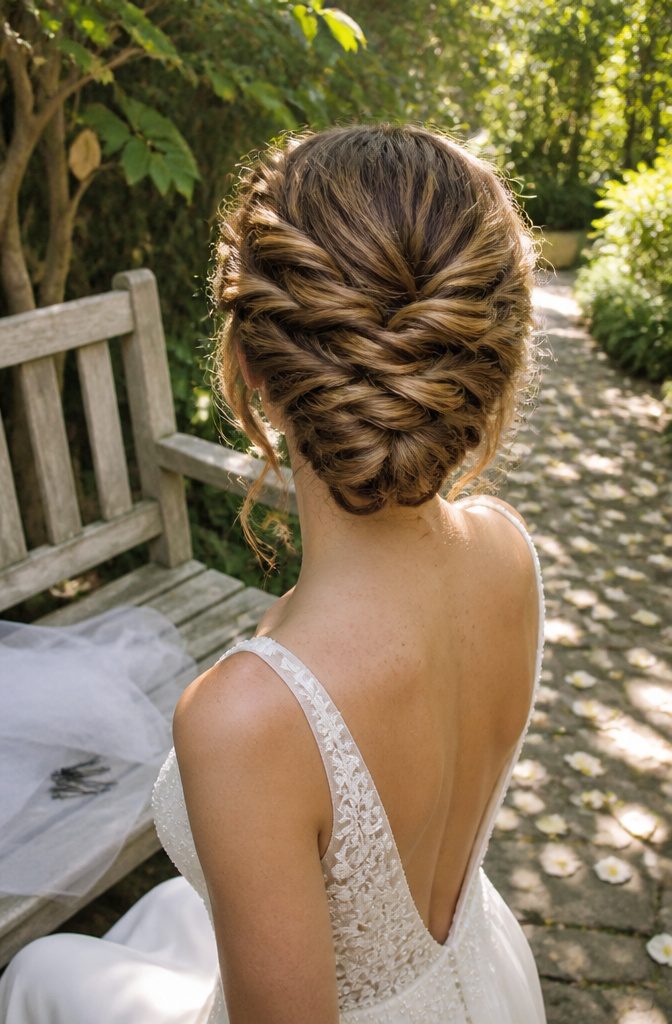
Twisted sections pinned across the head give you an updo that looks arranged rather than gathered.
Take a section, twist it, pin it, then alternate sides as you move across the head so the pattern stays balanced and no single side sags.
Curls in the lengths make the twists read as fuller and softer, which is why this style suits loose waves better than very straight, slippery hair. Ree Drummond’s mother-of-the-bride version works just as well on a bride.
If you want it looser, finish the twists into a messy bun and let a few strands fall free at the front for a romantic edge.
I’d pick the fully pinned version for a long ceremony and the messy finish for an outdoor one.
4. Braided Crown
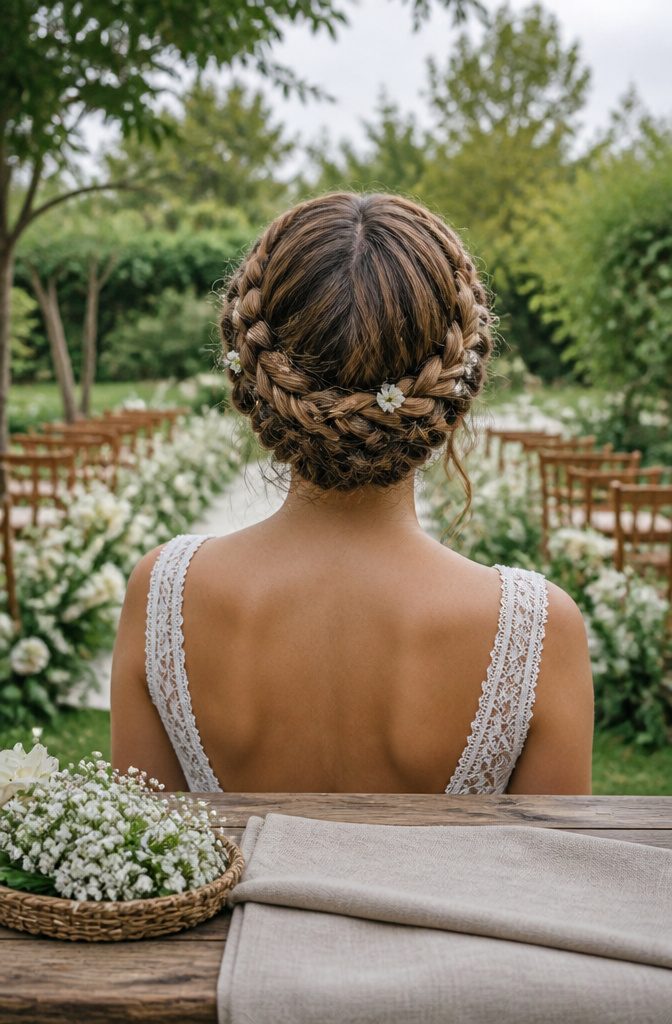
A braided crown comes in two builds, and the choice depends on how much time your hair needs to hold.
The braided headband is a single braid running ear to ear across the head, which keeps the rest of the hair loose and is the easier job for a stylist.
The full crown wraps the braid all the way around, and I’d pick it for any ceremony with wind or a long reception, because it holds the whole style in place.
Texture sets the mood. Loose, pulled-apart edges read relaxed; a tightly woven braid reads polished.
For a boho look, part down the middle, braid each side, cross the braids over the top and pin them. Small flowers or beads tucked along the braid suit outdoor and destination weddings best.
5. Braided Bun
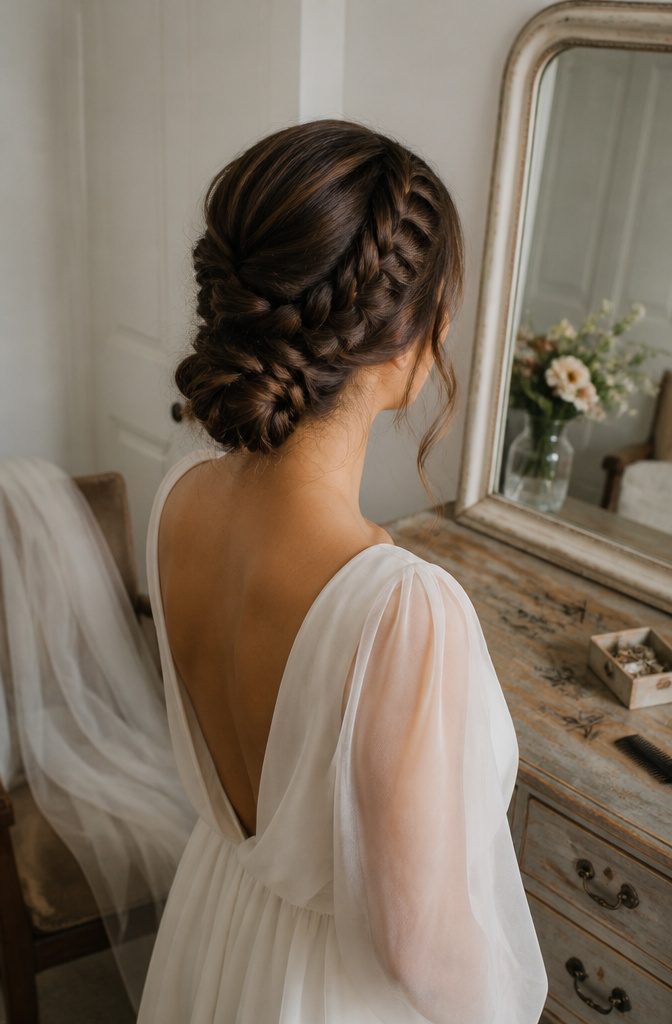
Two versions of this look are worth showing your stylist, and they work differently.
The first is a braided headband that starts on one side, follows the hairline around to the nape, then gets pulled with the rest of your hair into a low bun.
Pull a few tendrils loose and it reads bohemian and soft.
The second is asymmetrical: twist one side, French braid the other, and gather both at the base before winding everything into the bun.
I’d pick this one if you can’t decide between a twist and a braid, since it gives you both textures in a single bun.
The headband braid suits a loose, romantic dress. The side version looks tidier in photos from the front.
6. Ballerina Top Bun
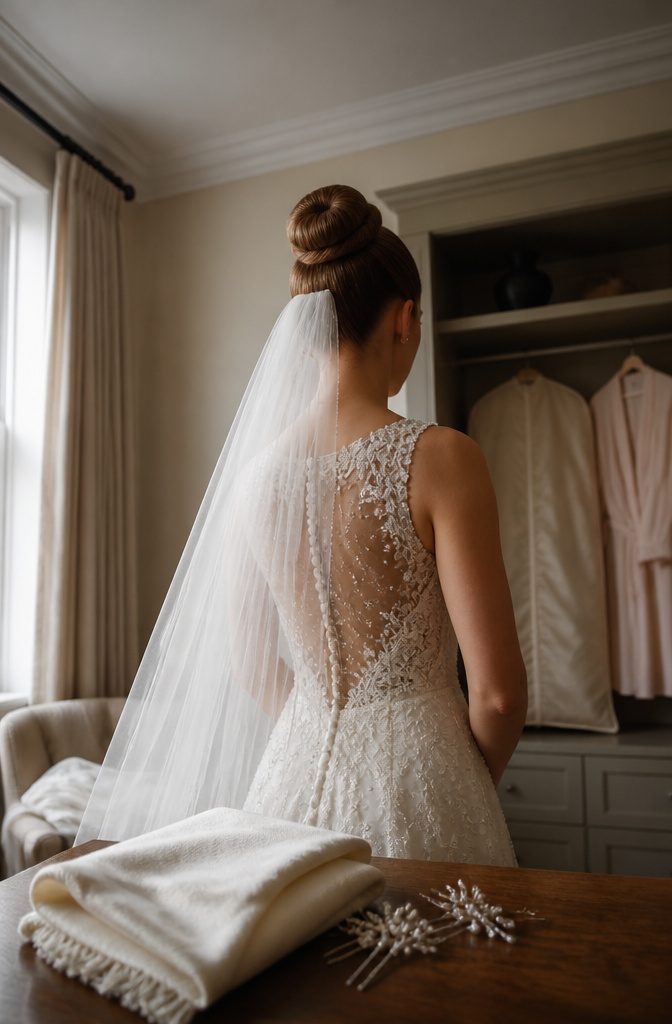
A ballerina top bun sits high on the crown, and it does two jobs at once: it clears the hair off your face and shoulders, and it stretches the line of the neck.
That makes it a strong match for a gown with detailed lace or beading, and for a veil, since neither has to compete with loose hair.
Go sleek if you want clean, minimal lines and the focus on your face and dress. A smooth, firmly secured bun also holds up from ceremony to reception, which is why I’d pick it for a long day.
Go textured if you want more drama: a teased, twisted bun piled on top reads as regal, though it looks softer and less precise than the sleek version.
7. Pinned-Up Curls
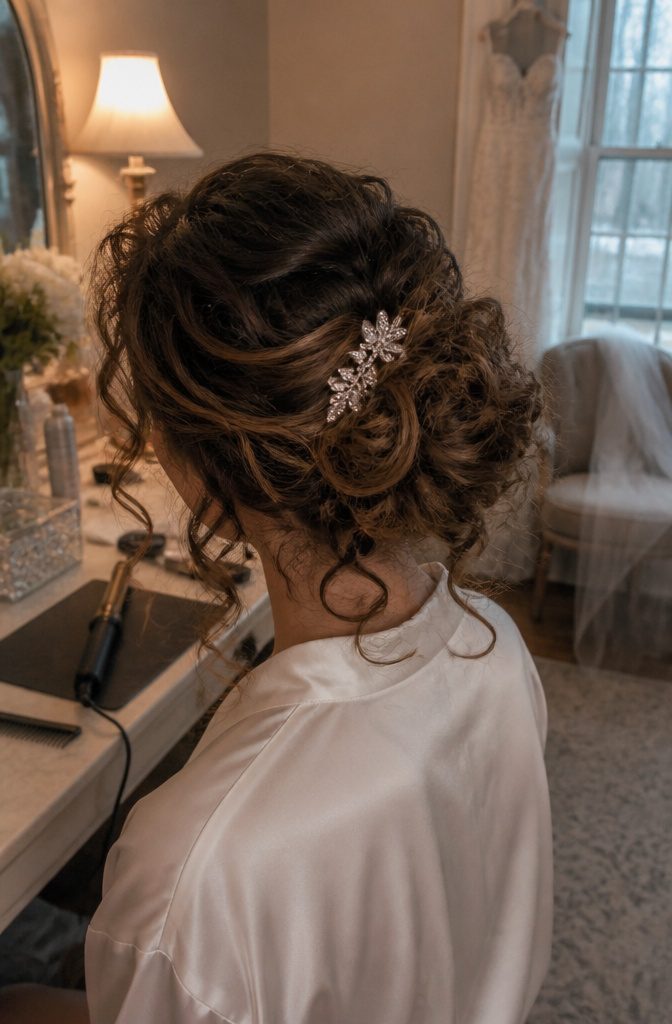
Pinned-up curls work best on hair that already curls.
Ringlets pinned into a slightly messy updo, with a few wispy curls left to fan across the nape and face, read as sophisticated without looking stiff. Skip the polish; loose pieces are what make this style.
If your hair is straight or wavy, you can build the same shape with a curling iron. Choose a barrel larger than 1 inch for bigger, more natural waves.
A smaller barrel gives tight, spiral ringlets that can look dated once pinned. Curl first, pin second, and bejeweled clips set along the curve of the updo add sparkle without hiding the curls.
8. Half-Up, Half-Down
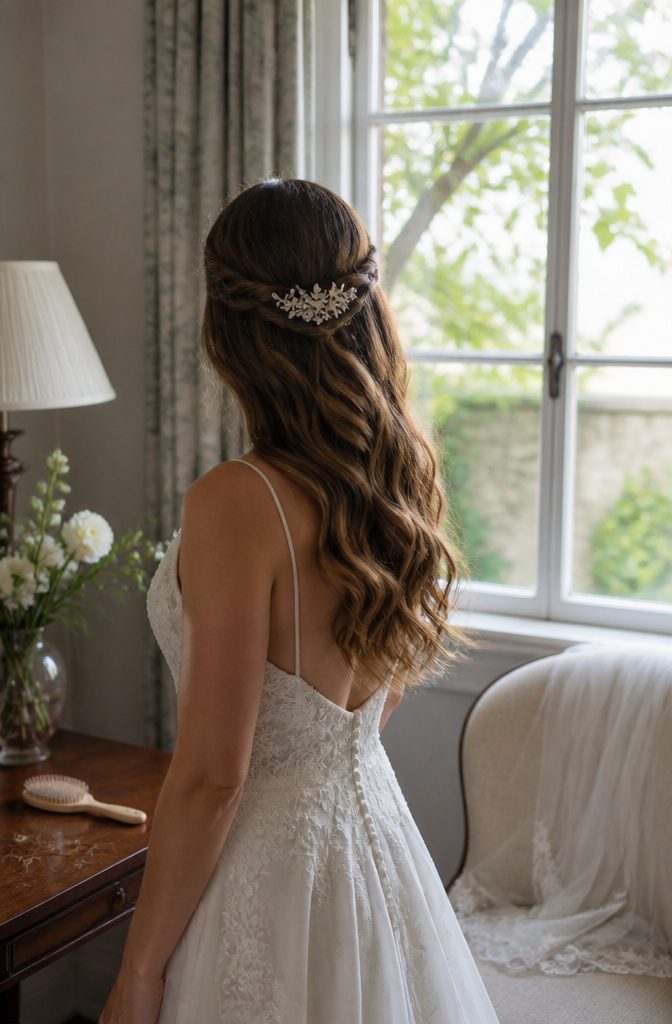
A half-up, half-down style is updo-adjacent, and I’d say so up front: your hair is only partly up, so it suits the bride who wants length on show for the whole day.
The classic version pulls the top section back and lets soft waves or straight hair fall loose. A high half ponytail does the same job with a more casual, textured finish.
For variation, twists are the easiest: twist a small section from each side toward the back and pin them together with a decorative clip.
Two overlapping plaits across the crown read as a braided headband, which suits a formal look better than a boho one. Curl the loose length and let it fall over one shoulder for extra drama.
9. Side Chignon
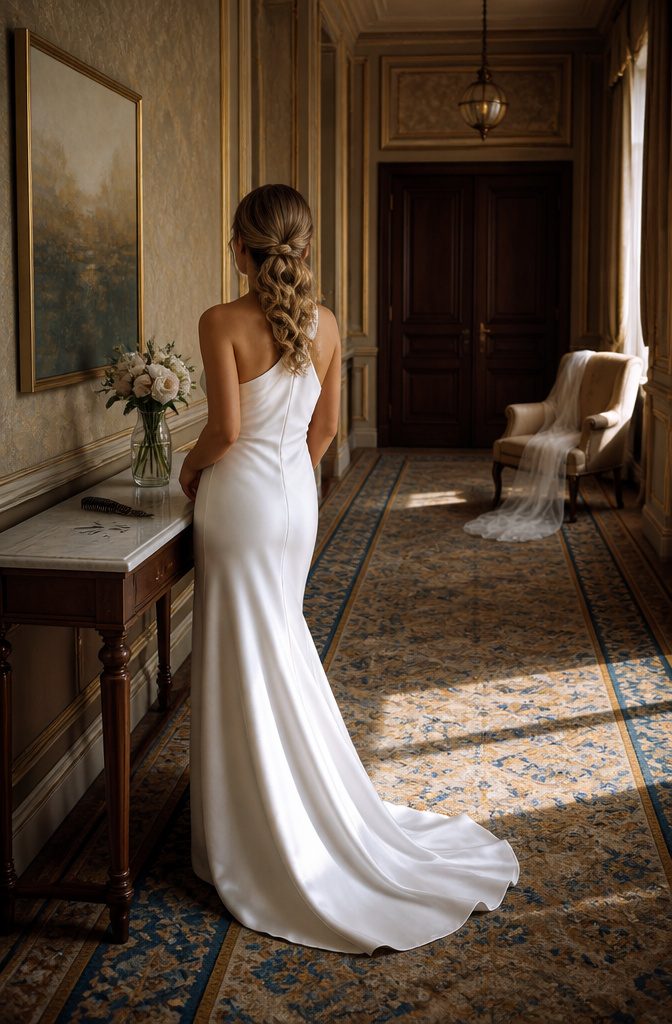
A side chignon works best when the weight sits low and just off center, near the nape and over one shoulder, so the gathered twist or curls frame one side of the face and leave the other side clean.
It suits a neckline that wants showing: a strapless gown, an asymmetric one-shoulder cut, or a deep V in back.
If your dress has a statement shoulder or heavy straps on one side, put the chignon on the opposite side so the two don’t compete.
Bring a photo to your stylist that shows the side you want, since many people part and curl toward their stronger side.
Curl the hair first and pin it loosely so the shape holds soft instead of looking slick. Long hair adds weight, so ask for extra pins on the heavy side.
10. Low Ponytail With Twists
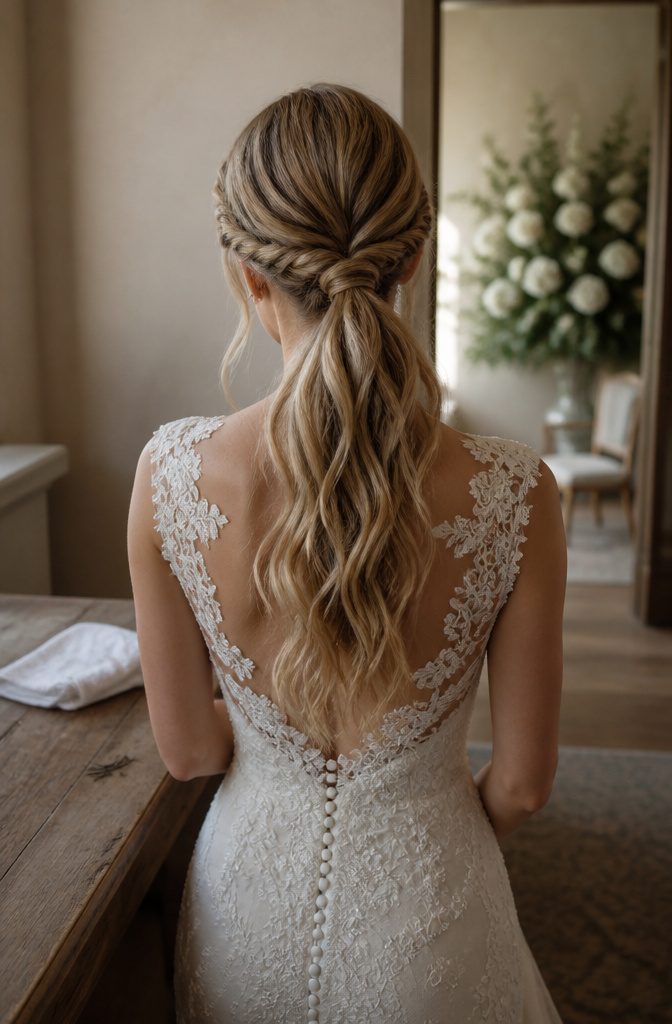
Twisted strands are what keep a low ponytail from looking like a gym-day default.
The twists start near the ears, run along the hairline, and wrap around the ponytail itself, so the elastic disappears and the sides look finished from every angle.
Ask your stylist to tease the crown before anything gets pinned. That small lift balances the weight of the tail below it, and it is the step that makes the style read as bridal.
I’d choose this over a sleek low ponytail if your dress has a detailed back or a high neckline, since the tousled tail adds movement without competing.
Loose, tousled texture in the tail is the look to show in your photo.
11. Victory Rolls
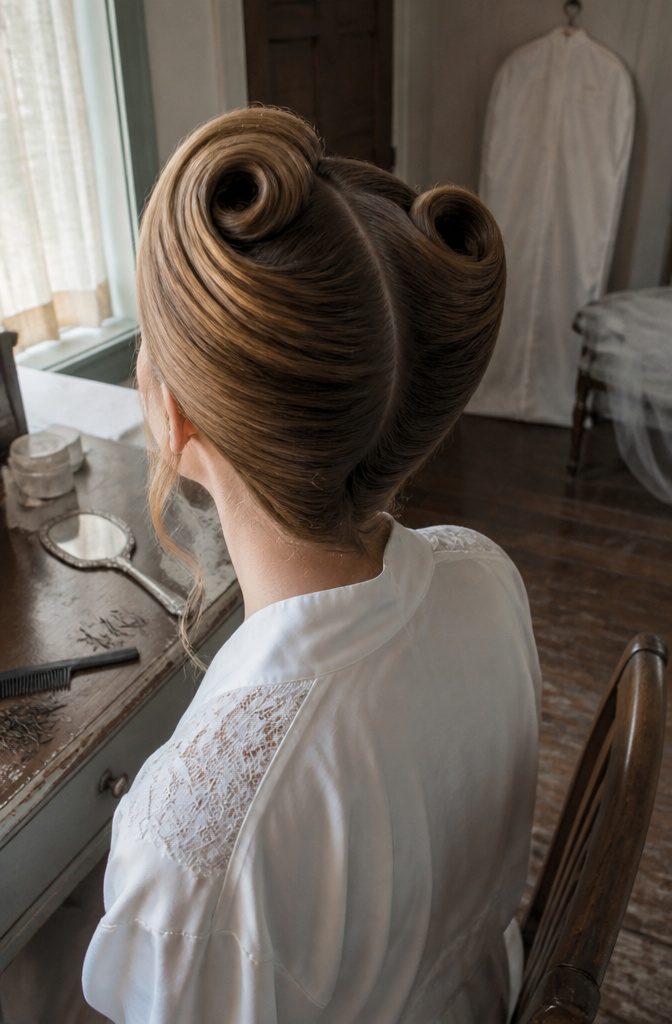
Victory rolls are the pick for a bride who wants a retro accent rather than a full period costume.
The look starts with a deep side part, which gives each section enough hair to roll with a clear shape. Roll each section inward, pin it, and finish with hairspray so the curves hold through a long day.
Long hair has plenty of length to wrap, so the rolls can sit high and bold. They suit a vintage or playful wedding best, and a bride who likes an obvious statement.
If you want soft and understated, skip them for a low chignon. Bring a photo to your stylist, because the size and placement of each roll changes the whole mood.
12. Bubble Ponytail
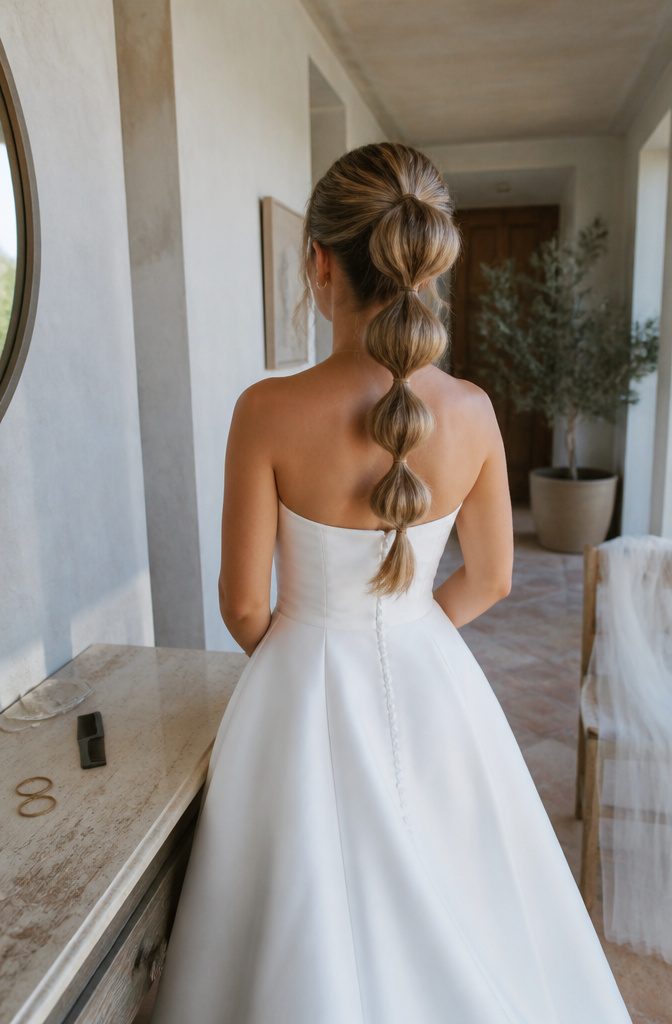
A bubble ponytail starts as a high or mid ponytail, then gets split into puffed sections with discreet elastics or hair wraps.
Clear or hair-matched elastics keep the focus on the shape rather than the hardware, while wraps make the sections read as a deliberate design.
The step that gives it its look comes after the elastics go in: pull out and separate the strands between each tie.
That loosening creates the voluminous, rounded effect. Skip it and you have a segmented tail with no bubbles.
I’d pick this for a bride who wants something playful over a classic bun. It reads as bold, so keep the rest of the look simple.
Matching the Look to You
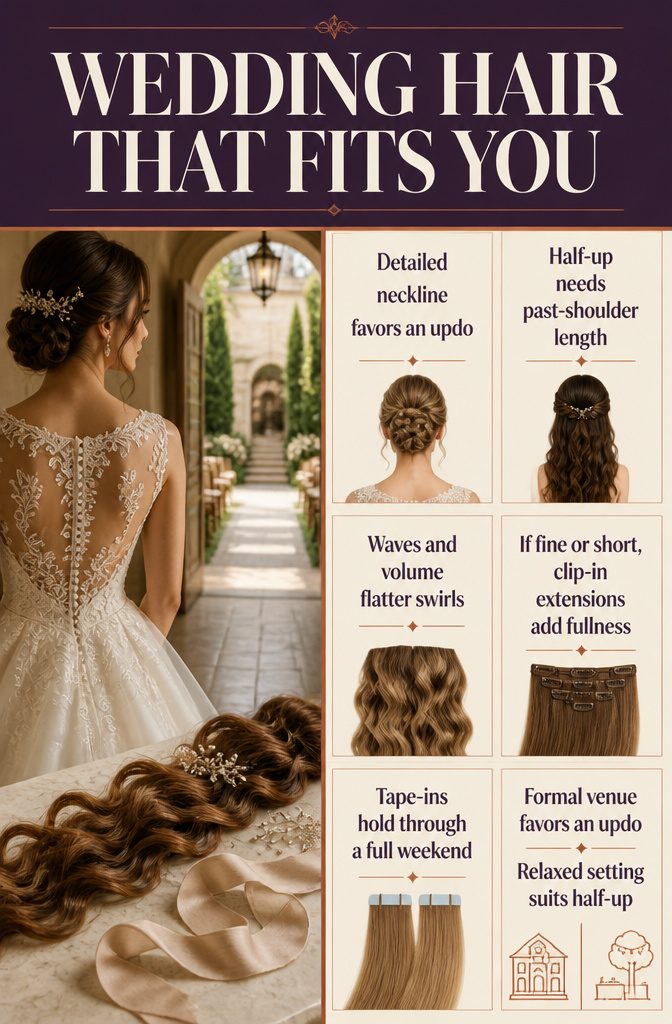
Start with the dress and the venue, because they rule out more styles than your hair does.
A dress with a detailed back or neckline usually asks for an updo, while a plain bodice can carry cascading curls. Past-the-shoulder length is what lets curls drape well, so a half-up style needs real length to work.
Texture matters next. Waves suit swirled half-up looks, and the more volume, the better a half-up style reads.
If your hair is fine or short, clip-in extensions add length and fullness for the day and come out afterward. Tape-ins hold through a full weekend.
I’d choose an updo for a formal setting and a half-up for anything relaxed.
Accessories and Finishing Touches
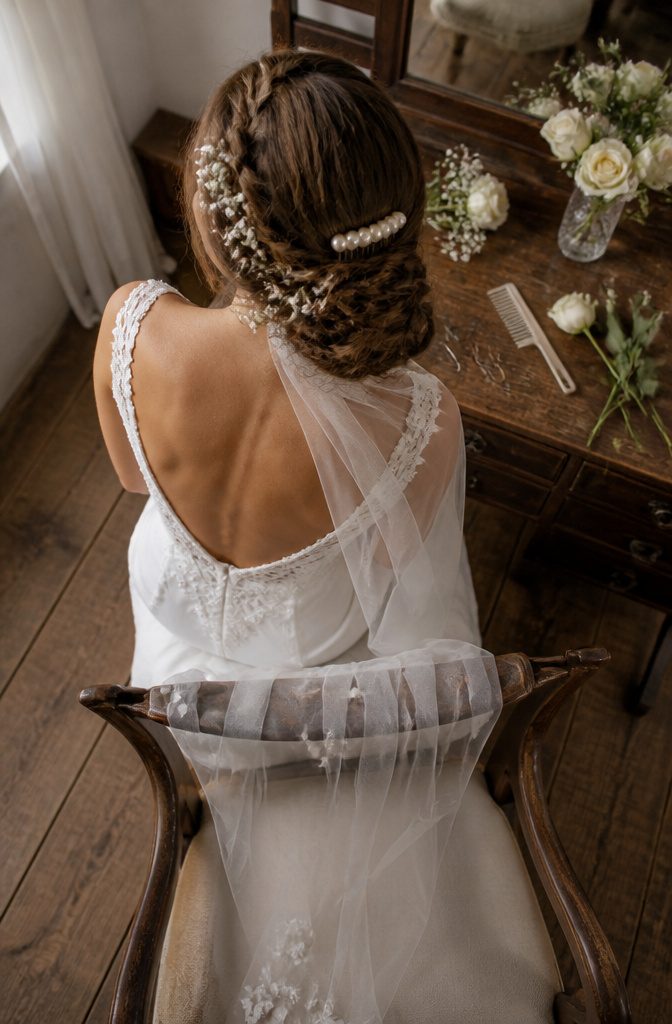
Pick one or two accents per updo. Anything more starts to compete with the hair.
- Floral pins and fresh blooms: Baby’s breath and roses are hardy enough to last through an all-day wedding, so ask your florist for those first. Tuck small flowers along a loose side braid and secure each with a pin.
- Pearl combs: These suit a messy bun best, where the loose texture needs one clean point of polish.
- Veils: A delicate veil pairs well with the same relaxed bun; it adds glamour without hiding the shape.
- Jeweled clips: A single clip finishes a curly low bun nicely, and baby’s breath works alongside it.
- Finish with a lightweight serum or spray: It keeps sleek, straight styles glossy and frizz-free all day.
Extensions and Hold Prep
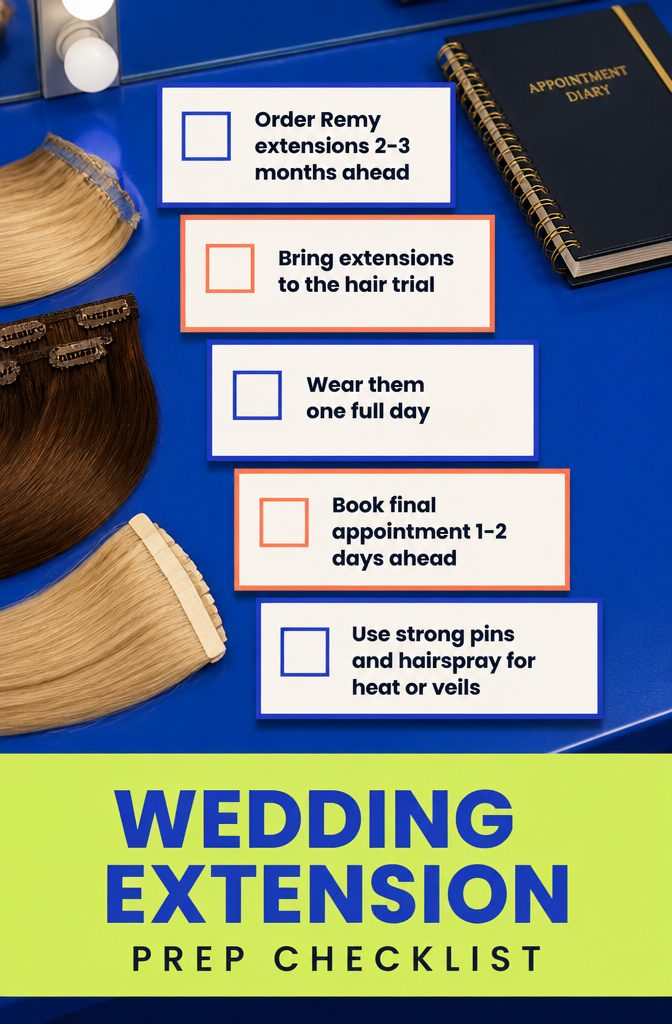
- Order extensions at least 2–3 months before the wedding. Hand-tied wefts, clip-ins and tape-ins all work, but choose human Remy hair so it behaves like your own through a long day.
- Bring the extensions to your hair trial. Your stylist needs to practice the full updo with them in, not just on your natural hair.
- Wear them for a full day before the wedding. That one day shows you how they feel and which clips need adjusting.
- Book the final appointment 1 to 2 days ahead.
- Ask for a strong, well-pinned updo with plenty of hairspray if the day is warm or you’re wearing a veil, tiara or other heavy accessory. Clip-ins can go in fresh on the wedding morning.