
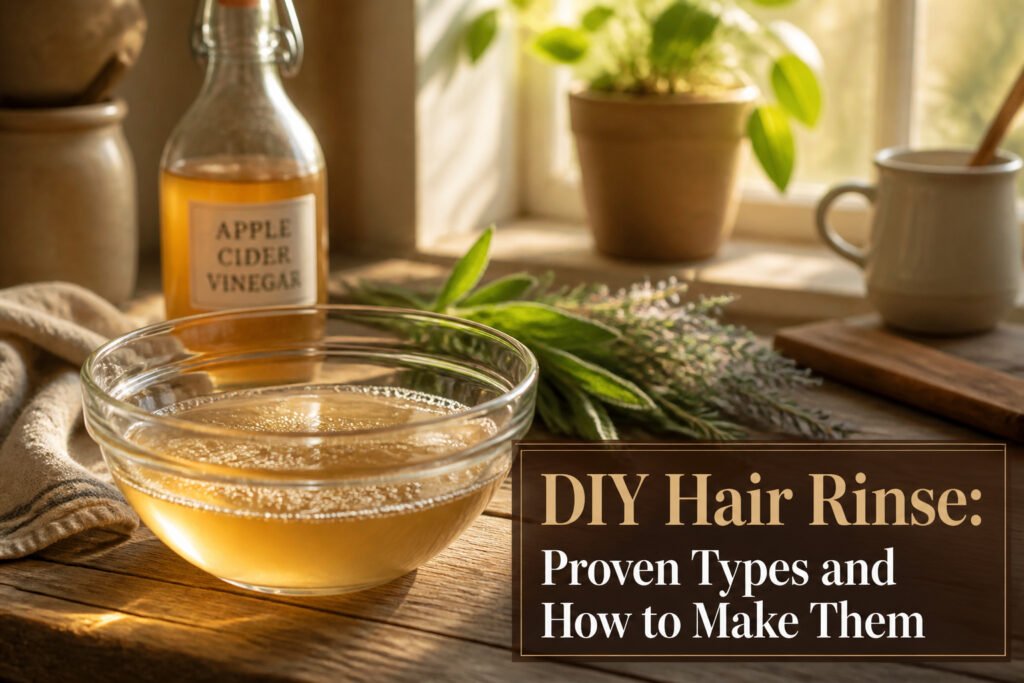
A DIY hair rinse is an acidic or herbal solution you pour through clean hair after shampooing to rebalance pH, dissolve buildup, and restore shine without commercial conditioners. The catch is that frequency matters more than strength: more than twice weekly with vinegar-based rinses can dry hair out or shift color-treated tones. The safest starting ratio, like the apple cider vinegar rinse that tops most searches, is 1/4 cup vinegar to 1 cup water, anything stronger risks scalp irritation.
1. Apple Cider Vinegar Rinse

Apple cider vinegar sits at the top of most DIY hair rinse searches for a reason. The acidity lands close to where a healthy scalp wants to be, so a proper dilution can nudge pH back into balance after alkaline shampoos strip it off course. That same mild acidity breaks down the residue that serums, dry shampoo, and hard water leave behind, which is why hair comes out of the rinse with the kind of shine that looks like light hitting clean glass rather than coating.
The ratio that keeps this safe is 1/4 cup ACV to 1 cup water. Anything stronger risks irritation; anything weaker and you are mostly just wetting your hair. Raw, unfiltered vinegar carries more of the nutrients that matter, though a standard organic bottle still does the job if that is what the pantry holds.
Color-treated hair needs a tighter leash. Overuse can shift tone or accelerate fading, so once a week is the ceiling for dyed strands, and even then, the first round should be a patch test on a hidden section. The buildup removal is real, but so is the trade: clarity for color stability, and only the reader can call which one wins that week.
2. Chamomile Rinse

Chamomile carries a deep golden yellow that catches light in a way flat dyes rarely manage. For blonde or light-toned hair, that color deposit reads as warmth and dimension rather than a coating. The shine comes from the same softening action; chamomile’s natural conditioning leaves the cuticle lying flat enough to reflect light back cleanly.
The recipe stays simple. Two tablespoons of dried chamomile steeped in two cups boiling water gives you enough for one thorough rinse. Let it cool completely, strain out the flowers, and pour it through clean hair as a final step. Massage it into the scalp in circular motions if you want the full conditioning effect, then rinse it out.
I would not bother with this on dark hair. The color shift is too subtle to justify the effort, and the shine benefit is easier to get from other rinses. For light hair, though, the combination of tone and gloss is hard to match with anything store-bought at the same cost.
3. Herbal Rinses

Lavender and rosemary sit at the center of most herbal rinses for good reason, but they do different jobs. Rosemary supports scalp circulation and healthy follicles, which makes it the herb to reach for when growth or scalp health is the goal. A sprig about 5 inches long works if you have fresh, or roughly a tablespoon dried. Lavender, meanwhile, leans toward conditioning and helps with oily scalps, plus it carries a clean fragrance that lingers without any added oils. Fresh lavender gives a surprisingly vivid color to the infusion, though dried works fine too.
The broader herb palette runs deeper than those two. Chamomile and calendula suit lighter hair; sage can darken graying strands; nettles target dandruff; horsetail addresses brittleness. Specific measurements shift by herb and hair type, so a tablespoon of dried rosemary for one head might need doubling for thick or long hair. The base method stays consistent: cover the herbs with vinegar, let them steep two to six weeks, then dilute about ½ cup of the infusion to 2 cups warm water for each rinse. Strain through a coffee filter if you used loose herbs, or you’ll be picking bits out for an hour.
4. Green Tea Rinse

Green tea carries a dense load of antioxidants, the catechins and vitamins C, D, and E that scalp tissue actually uses. The caffeine content gets attention for stimulating follicles and slowing the shedding phase, which is why this rinse sits in the growth-stimulation column rather than just the soothing one. Panthenol, or vitamin B5, rounds out the mix with conditioning weight.
1 bag green tea, 1–2 tablespoons apple cider vinegar, and 2–3 cups water is the working ratio. Steep the bag for 30 to 60 minutes, then stir in the vinegar once the liquid has cooled. Some versions add a tablespoon of raw honey for extra humectant pull, though the core recipe functions without it. Transfer to a spray bottle and apply to clean scalp and hair, working in sections so the liquid reaches the roots rather than running straight down the drain.
The vinegar brings pH back toward acidic, which closes the cuticle and returns shine after the alkaline swell of shampooing. Green tea handles the scalp side. Two to three cups yields enough for one thorough application on shoulder-length hair; scale up if your hair is longer or thicker, but the proportions stay the same.
5. Honey Rinse

Honey sits on the heavier end of the diy hair rinse spectrum, which makes it a poor default choice for fine hair but a solid one when dryness, not volume, is the problem. The humectant quality pulls moisture into the shaft rather than coating it with silicones, so the shine reads as actual light reflection rather than surface slip.
The standard proportion is 2 tablespoons honey dissolved into 2 tablespoons apple cider vinegar and 2 cups warm water. The warmth matters; cold water will leave the honey stranded at the bottom of your bowl. I mix it just before stepping into the shower, since letting it sit thickens the mixture and makes pouring harder to control.
That same weight that seals moisture into coarse or color-treated hair can flatten finer textures within a single wash. If your hair falls limp by midday on its own, cut the honey to one tablespoon or skip this rinse entirely in favor of something lighter. The vinegar helps with cuticle closure and pH balance, but it does not cancel out the density of the honey itself.
Pour it through after shampooing, work it in with your fingers for a minute or two, then rinse with cool water. The scent dissipates as the hair dries.
6. Kombucha Rinse

Probiotics on the scalp work differently than in your gut, and the science behind pouring fermented tea on your head is the thinnest of the six rinses here. Kombucha contains live cultures and acetic acid, which some stylists say can calm irritation or rebalance an itchy scalp. The acidity sits close to hair’s natural pH, so it closes the cuticle without the sharp sting of straight vinegar.
Mix half a cup of plain, unflavored kombucha with one cup of cool water and pour it through after shampooing, working it into the roots with your fingertips. Let it sit two to three minutes, then rinse lightly with cool water so the scent doesn’t linger. The sugar content in flavored bottles will leave hair sticky, so check the label.
I wouldn’t start here if you’re dealing with serious flaking or sensitivity. The studies just aren’t there yet, and an apple cider vinegar or herbal rinse has more documented backing. Kombucha is worth trying if you already brew it at home and want to use up a batch that’s gone too tart for drinking, or if you’ve tried other rinses and want something gentler. Store any leftover mixed rinse in the fridge and use it within three days; fermented ingredients spoil fast at room temperature.
How to Make a Basic Rinse

A basic rinse follows the same backbone whether you reach for mint, lavender, or something else from the herb drawer.
- Gather your ingredients. Most recipes start with 1 cup of boiling water and a handful of fresh herbs (roughly 1/2 cup) or a smaller measure of dried (about 1 tablespoon). If you are using vinegar, 1/2 cup of apple cider vinegar is the standard addition.
- Steep the herbs. Pour the boiling water over them, cover, and let the mixture sit for 15 to 30 minutes. A stronger infusion calls for more time or more plant material; some people simmer the herbs for 15 minutes and then steep another 30 off the heat.
- Strain out the solids. A tea-stained shower is temporary and washes away, but it is annoying, so a fine mesh strainer saves cleanup.
- Add the vinegar if your recipe uses it. The sources split here: some build the vinegar in from the start, others stir it in after steeping. Either way works; adding later gives you more control over the strength.
- Cool the liquid to a comfortable temperature. Hot rinse, bad idea. Lukewarm is the target.
- Apply after shampooing. Pour slowly over your scalp, massage it in, and let it sit a few minutes. Rinse with tepid water afterward, or skip that last rinse and towel dry if you want the extra conditioning. The vinegar smell vanishes as the hair dries.
What Rinses Do for Hair

A diy hair rinse works on four fronts that shampoo alone rarely covers. The acidity of vinegar or lemon closes the cuticle, those tightly woven scales that reflect light when lying flat; when alkaline products push pH out of balance, the cuticle lifts and hair turns dull and prone to breakage. Closed cuticles mean brighter shine and less frizz, the first thing most people notice after one use.
Regular rinsing also dissolves the mineral and product buildup that accumulates on strands and scalp. Hard water leaves alkaline deposits; acidic rinses counteract them the same way vinegar lifts scale from a faucet. Over weeks, this keeps the acid mantle intact, the thin protective layer that produces sebum and regulates moisture. A balanced scalp grows stronger hair with less shedding, while an imbalanced one stalls growth and invites breakage.
The catch is frequency. More than twice weekly with something as acidic as apple cider vinegar can dry hair out or, for darker shades, coax out brassy tones. Light hair may lighten further. Sugar-heavy rinses like cola deposit residue that backfires into oily buildup. The payoff comes from steady, moderate use: a weekly or biweekly rinse builds healthier hair over months, not from aggressive sessions that strip what the scalp needs.
How Often to Use Them

Most hair types do well with a DIY hair rinse once or twice a week, though dry or damaged strands need less frequent application than oily scalps. The vinegar rinses that work so well for buildup can strip natural oils if pushed to daily use, so spacing them out matters more than the strength of the mix. When I first switched away from conventional shampoo, I leaned on rinses every other day while my scalp adjusted, then dropped back to once or twice a month once things balanced out. That transition period, where oil production is still catching up to the new routine, usually lasts a few weeks. A weekly herbal rinse can replace shampoo entirely for some hair types, letting natural oils condition from root to tip without interference. The real test is how your hair feels the day after: if the ends stay soft and the crown stays clean, the schedule is right.
Frequently Asked Questions
How often should I use a DIY hair rinse?
Most people do well with a rinse once or twice a week. Dry or damaged hair needs less frequent application than oily scalps, and daily use of acidic rinses like apple cider vinegar can strip natural oils. The real test is how your hair feels the day after: if the ends stay soft and the crown stays clean, your schedule is right.
Can I use apple cider vinegar on color-treated hair?
Yes, but keep it to once a week at most. Color-treated hair is more susceptible to dryness, and overuse can shift tone or accelerate fading. Your first application should be a patch test on a hidden section to see how your specific color responds.
What are the benefits of using herbal hair rinses?
Herbal rinses add shine, soften hair, remove oily residue, and support scalp health. Specific herbs target different needs: rosemary aids circulation and growth, lavender conditions and helps oily scalps, chamomile warms blonde tones, and sage can darken graying strands.