
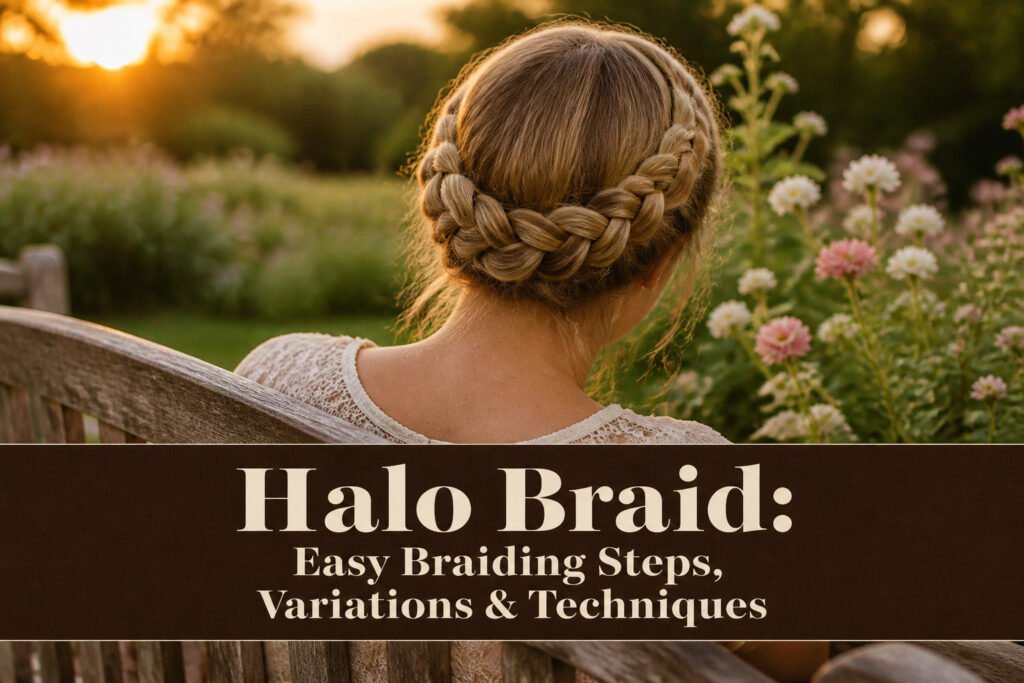
A halo braid is a crown-like style made from two Dutch braids, one on each side, pinned together at the back to form a continuous ring around the head. The raised effect comes from crossing each strand underneath rather than over, which pushes the braid outward instead of letting it sink flat. What trips most people up is the parting: a crooked middle line magnifies once the braids circle your head, so the extra minute with a fine-tooth comb now saves the whole style later.
Part Your Hair

A clean middle part is what separates a halo braid that sits evenly from one that drifts off-center by lunchtime. I start with a fine-tooth comb and draw a line from forehead to nape, checking both sides in the mirror to catch any zigzags before they set the whole style crooked. Clip one section completely out of the way so the loose strands don’t wander into your working area while you braid the first side. A duckbill clip works better than an elastic here; it holds the hair flat without leaving a dent that you’ll have to smooth out later. The part itself is doing more than organizing your sections. It creates the central anchor that the two braids will wrap around, and any unevenness at this stage magnifies once the braids circle your head. Spend the extra minute now.
Start Braiding

A Dutch braid is the right move here because the under-crossing technique is what gives a halo braid its raised, crown-like effect. Pick one side, take a small section near the hairline, and split it into three strands. Instead of crossing over the middle strand the way you would for a standard braid, cross each outer strand underneath. That single change pushes the braid outward so it sits on top of the hair rather than sinking in.
As you work down the side of your head, add in small sections from just the front, near your face, each time you cross a strand. Only add that extra hair to the larger section closest to your face before you fold it under into the main braid. The sections stay small and the tension stays even, which matters more than speed. I have rushed this part and ended up with a lopsided arc that sat too far back, so keeping the additions narrow and consistent is worth the extra minute.
Secure With Elastic

The braid keeps going until the tail is about two inches long, maybe three if your layers cooperate. Stop while there is still enough unbraided length to grip with bobby pins later; a stub too short will slip out from under the twist, and a tail too long bulks up the crown where you tuck it. I secure mine with a clear elastic, the kind that disappears against dark or light hair alike. If a few shorter pieces escape at the bottom, that is normal, especially on cuts above the shoulder. The elastic holds what it can. The real fastening happens in the next step, when the tail gets pinned flat against the head, so leave yourself that workable end to work with.
Repeat on Other Side

The second braid is where symmetry either happens or falls apart. Mirror the first braid’s starting point exactly, or the halo sits lopsided no matter how neatly you braid. I check placement by touch, running a finger across the crown to feel whether both anchor points line up.
Tension matters more than speed here. Pulling harder on one side than the other leaves you with a thick, puffed braid opposite a flat one. I keep the same finger positioning and the same amount of hair per section, counting silently through the first three crosses to match the rhythm I used before.
Leave the crown area loose out of both braids so no part shows down the back. The two braids should look like one continuous ring, not two separate ropes meeting in the middle. If a little hair refuses to join either braid, that is normal; the pinning stage handles the strays.
Loosen the Braid
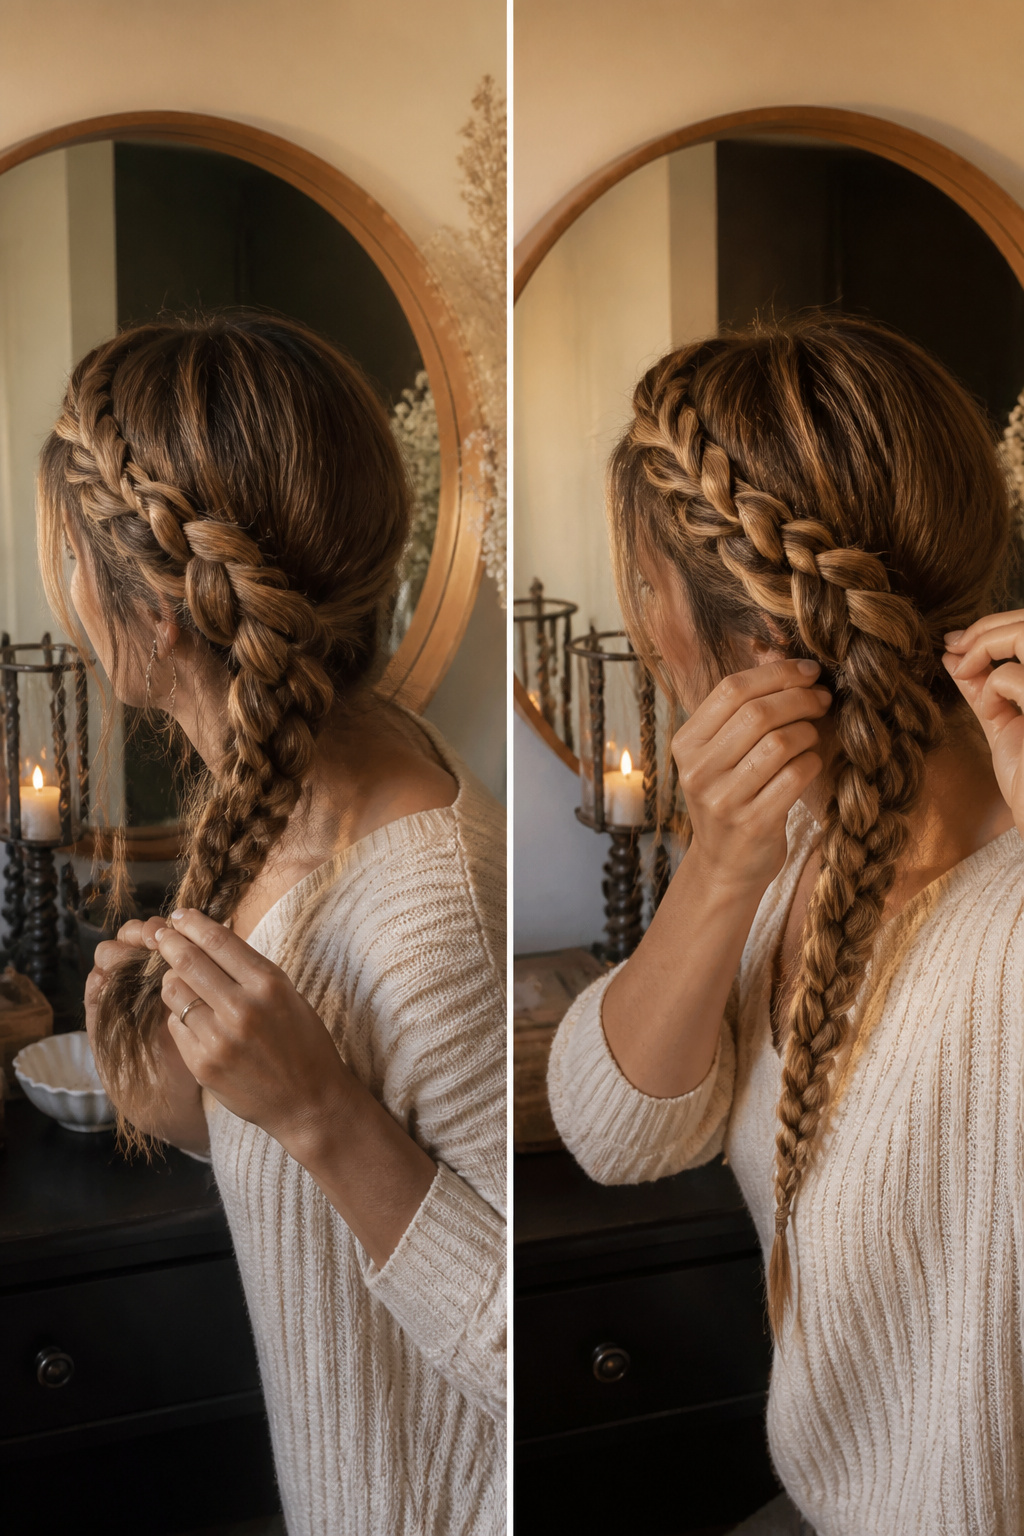
Gently pull the curved sections outward with one hand while you anchor the elastic end with the other, working from top to bottom on both sides. The braid should soften and widen without losing its structure; stop before any loop threatens to slip free. A halo lives or dies on this step. Pull too little and the crown stays narrow and gym-ready. Pull too hard and you spend ten minutes reweaving what unraveled. The first time I tried this, I tugged unevenly and ended up with a lopsided halo that leaned left for the entire evening. Now I check my reflection after every third pull, comparing both sides at eye level. The worn-in character comes from controlled irregularity, not chaos. Some sections puff more than others, and that variation is what keeps the style from looking like a uniform rope circling your head.
Secure With Bobby Pins

The elastic bands at the end of each braid need to disappear if the halo is going to read as a continuous circle. I bring the two tails together at the base of my head and cross the right braid over the left so the join sits flat, then pin straight through both elastics with the first bobby pin. A second pin, pushed in from the opposite angle, locks them in place. The real work is hiding the evidence: I slide the tail of one braid under the band of the other, or tuck both into the nearest coil of the braid itself, so the elastic is covered by hair that matches. If a bit of band still shows, a small pin slid underneath catches the edge and pulls it flush against the scalp. The messier finish some people get with shorter hair actually helps here; a little texture at the back means the join is less likely to read as a hard line. For a cleaner circle, the placement matters more than the number of pins. Two well-angled pins beat four poked in at random.
Finish the Look

A light mist of hairspray locks the halo braid in place without turning it helmet-stiff. I hold the can about ten inches back and spray in short bursts, mostly around the crown where the braids meet, then let it dry before touching anything. Pulling out two thin pieces to frame the face softens the whole look, but only if your jawline actually benefits from the distraction. On me, those wisps read as unfinished; on a friend with a wider forehead, they balance her features completely. Spread the braids by tugging gently from top to bottom on both sides, keeping the elastic end steady in one hand. Too much tension unravels the weave, so stop as soon as the shape loosens. The crown area stays out of the braids entirely, which hides any part line and keeps the halo sitting flat where it matters.
Halo Braid Variations

A half halo braid keeps the crown braided while the rest of the hair hangs loose, which makes the style read as casual rather than ceremonial. The sources frame this as a ten-minute variation that borrows from the half-up, half-down trend, and I see why it stuck: it solves the length problem that blocks a lot of people from the full version.
Shorter hair, or even a bob or lob, can manage this one because you are only braiding the top section. Second- or third-day hair with some texture grips better and hides the shorter pieces that tend to slip out of a full halo. The Dutch braid technique, worked from each temple back toward the crown and pinned to meet in the middle, gives enough structure that the braid looks deliberate, not like a fallback style.
What I like about the half version is the flexibility. Wearing the braid tighter keeps it office-appropriate; pulling a few face-framing pieces loose and letting the back wave or curl turns it into something that works for dinner without a restyle. The sources note that the full halo, the crown braid, and the milkmaid braid all describe essentially the same finished look, just reached by different techniques. The half halo is the outlier, and that is its advantage: it borrows the polish without the formality.
Dutch Braid Technique

A Dutch braid builds the halo’s structure by crossing each new section under the middle strand rather than over it. That single change in direction flips everything. Where a French braid lies flat and sinks into the hair, the Dutch braid pushes outward, creating a raised rope that catches light and casts its own small shadow. The effect is architectural: the braid becomes a visible band circling the head instead of a subtle detail you have to hunt for in a mirror.
This three-dimensional quality matters for a halo braid in particular because the style is meant to be seen from every angle. A French braid halo can disappear into the rest of your hair when you turn your head, especially in soft light or against a similar tone. The Dutch version stays prominent. The sections sit stacked and slightly separated, almost like a braided crown with actual depth, which is why most tutorials that promise a "statement" halo default to this technique even if they do not name it outright.
The motion feels wrong at first if you learned French braiding as a child. Your hands want to pass hair over the center, and crossing under requires a deliberate reversal of that instinct. After two or three practice runs, though, the underhand motion becomes automatic, and the resulting height on your head makes the extra coordination worth the adjustment.
Hair Preparation

Second- or third-day hair grips a halo braid far better than freshly washed strands, which is why most tutorials start there. The natural oils and slight buildup give the sections something to hold onto while you work the braid around the head. If your hair tends toward slippery or fine, dry shampoo or a texturizing spray at the roots adds the grip without making the hair feel dirty. I have seen this step skipped too often, and the result is a braid that loosens before you even finish the second side. A light mist through the mids and ends works if the hair is freshly curled or waved, but the roots are where the tension lives.
Braid Techniques

A halo braid sits on the head differently depending on which braiding method you choose. French braids cross the outer strands over the center, which leaves the braid sitting slightly raised and flat against the scalp. Dutch braids do the opposite: each outer strand passes under the center, so the braid pops outward and creates a rounded, rope-like dimension that frames the head like an actual halo. That outward projection is why Dutch braids are the technique most tutorials emphasize for this style. The braid becomes its own structural element rather than lying flush against the hair.
Most halo tutorials use two separate Dutch braids, one on each side, rather than one continuous braid around the whole head. The two-braid method is easier to manage, especially for shorter hair, because you can control the placement and tension as you work each side separately. You also avoid the awkward part line down the back that a single continuous braid would create. The crown area stays free of braiding, which keeps the top looking smooth and uninterrupted.
Styling Tips

The messier a halo braid looks, the better it reads, but there is a difference between relaxed and actually coming undone. The trick is to build the structure tight, then distress it after. I braid with normal tension all the way around, secure the ends properly, and only then go back to tug at the loops. Pulling outward from the center of each braid section, not upward, keeps the anchor points intact while the surface gets that soft, irregular texture. The crown area left out of the braids helps here too: that loose volume at the top catches the light and makes the whole style feel intentional rather than sloppy. If a piece slips while you are loosening, pin it from underneath where the metal disappears; fixing from above breaks the illusion and usually shows.
Hair Tools

Second- or third-day hair gives the braid the grip it needs, so a halo braid actually asks for less product than most styles. The real tools are clear elastics, a hair clip, and bobby pins. I keep the clip handy for parking loose sections while I work, which keeps the part clean without extra hands. The elastics join the two braids at the base, and the pins do the rest: one source pins the ends together for a crown effect, and on shorter hair a slightly messy finish is part of the look. If you want it cleaner, placement matters more than quantity. A few pins, well aimed, beat a dozen scattered ones.
Short Hair and Halo Braids

A bob or lob can absolutely carry a halo braid, and the method is actually simpler than the full continuous wrap most tutorials assume you need. The trick is two separate Dutch braids, one on each side, pinned together at the back to complete the circle. Working in smaller sections like this keeps the tension manageable on shorter lengths, and you are not fighting to pull a single braid all the way around. Second or third day hair helps, since a little natural texture gives the sections something to grip. I have watched this fall apart on freshly washed hair that was too clean to hold, so that texture step is worth planning around.
Frequently Asked Questions
Can you do a halo braid on short hair?
Yes. Two separate Dutch braids, one on each side, get pinned together at the back to complete the circle. Working in smaller sections keeps the tension manageable on a bob or lob, so you are not trying to pull a single braid all the way around your head.
What is the difference between a halo braid and a crown braid?
They are essentially the same finished look, just reached by different techniques. A halo braid, crown braid, and milkmaid braid all describe a braided style that circles the top of the head; the variation is in how you build it, not in what you end up with.
Do you need long hair for a halo braid?
No. The Dutch braid technique works on hair as short as a bob or lob. The two-braid method, pinned at the back, avoids the length demands of a single continuous wrap around the whole head.
What kind of hair is best for a halo braid?
Hair with a little texture grips best, so second- or third-day hair is ideal. Freshly washed strands tend to slip; if yours is fine or slippery, dry shampoo or texturizing spray at the roots adds hold without making the hair feel dirty.