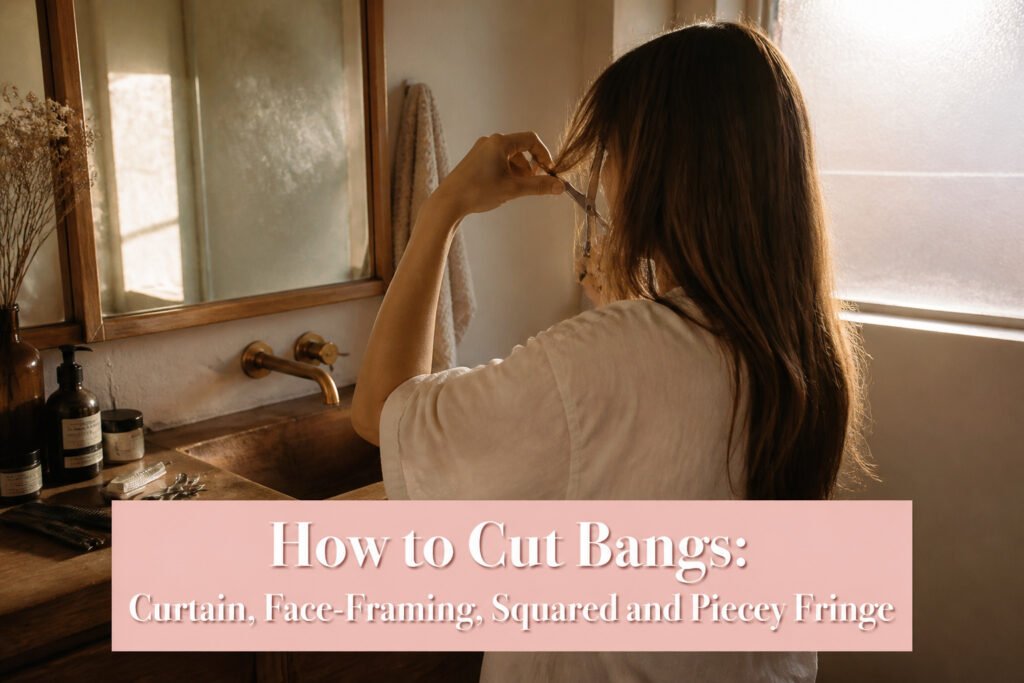
Cutting your own bangs means matching the fringe style to your face shape and hair texture, not just following a video. The downward slide cut separates curtain bangs from blunt, shelf-like edges that sit too short at the outer corners. Sharp hairdressing shears, not craft-store razors, are the only tool that keeps the line clean once the hair dries.
Curtain Fringe

Curtain fringe splits down the middle and feathers longer as it leaves the face, which keeps shorter faces from looking boxed in. The sectioning matters more than the cut itself. Start at the apex, where the head rounds highest, and draw a triangle out to the ends of each eyebrow. That triangle is your working area; everything outside it stays put. Split that section in half down the center part.
The bridge of the nose is your benchmark length. Cut there first, then stand on the opposite side of whichever half you’re working and over-direct the hair toward the center. Slide the shears downward in a vertical motion as you release the hair; this feeds length into the sides as they move away from the face. Repeat on the other side and check for evenness with your comb. A round brush blown downward and flipped outward at the ends gives the finished curtain effect, though letting them air-dry with a center part also works on straighter textures. The downward slide cut is what saves you from blunt, shelf-like bangs that sit too short at the outer edges.
Face-Framing Fringe

Face-framing fringe uses the same triangular section as curtain fringe, but the cutting method changes everything about how it falls. Gather all the hair from that section straight to the center of the forehead. This over-direction is what builds the natural arch into the shape, shorter at the front and gradually longer as it moves away from the face.
The length should sit just above the arch of the eyebrows, not at the brow bone itself. That small gap keeps the line from looking heavy.
For the cut itself, point cutting is the move that keeps this from turning into a blunt bang. Open the shears slightly and snip into the ends with the tips pointed upward, removing tiny increments rather than cutting straight across. The result is a softer edge that catches light differently and moves when you turn your head. A straight cut would give you a shelf; point cutting gives you the feathered finish that makes this style wearable past the first week of growth.
Squared Fringe

A squared fringe demands the same triangular guide as a curtain cut, but the similarity ends there. Small horizontal subsections get taken straight across in a clean line at the length you want. Cut without tension, letting the hair fall naturally, or the spring-back will leave you shorter than planned once the comb comes out.
Thick hair benefits most here. Removing that weight in a blunt panel stops the bulk from overwhelming your face. The straight edge also balances longer faces and larger foreheads, drawing a horizontal line where length needs interrupting.
Work upward from the first cut, each new subsection guided by the one below it. Precision matters more than with softer fringes; a jagged line in a squared fringe reads as a mistake, not texture.
Piecey Fringe

A razor gives piecey fringe the soft, lived-in texture that scissors struggle to match on their own. The blade weaves in and out of horizontal subsections, feathering downward from at least midway through the fringe so the hair does not spring up too short. That slicing motion thins the ends gradually rather than leaving a blunt line.
Scissors can approximate the effect if you work the same horizontal subsections and point-cut at varying depths. The deeper you point-cut, the more separation you create between pieces. The result reads choppier than razor work, though, and takes more effort to avoid a hard edge.
For the softest finish, the razor wins. It removes weight while keeping the ends wispy enough to separate naturally, which is the whole point of this style.
What You Need

Blunt scissors will chew through wet hair and leave you with a ragged line that shows up the moment it dries. Sharp hairdressing shears are the only sensible choice, something I learned after my first self-cut in college looked perfect until morning. A razor can work for piecey, feathered ends, but only if it is actually meant for hair, not the craft-store kind that shreds the shaft.
A fine-tooth comb gives you tension and a clean guide, and a few sectioning clips keep the rest of your hair out of the way while you work. Skip any of the three and you will chase a crooked line around your face for twenty minutes, which I have done twice and do not recommend once more.
Hair Type and Face Shape

Thick hair carries weight at the front that can pull a fringe flat against your forehead. A squared fringe removes enough bulk to let the line hold its shape, which is why the style shows up so often on dense textures. The cut works in small horizontal subsections with no tension, so the hair falls where it naturally wants rather than shrinking up after you set the scissors down.
Face length matters just as much as density. Curtain fringes tend to suit shorter faces because the parted, draped panels add vertical openness around the cheeks. Squared fringes do the opposite: the straight, solid line across the brow shortens a longer face or a larger forehead, bringing the overall proportions closer to balance.
Texture still changes how a fringe behaves once it is cut. A squared line that sits cleanly on straight hair may need slight adjustment to keep the same edge on waves or coils, though the core technique stays the same. The point is to choose the base shape for your structure, then refine rather than force the hair against its nature.
Styling After the Cut

A round brush is the tool that finishes what the scissors started. I hold mine horizontally underneath the bangs, pulling them forward and slightly downward while the dryer hits them from above. That motion sets the ends into a soft curve instead of letting them flick out or fall flat against the forehead.
The direction matters more than the heat level. For curtain bangs, I part them down the middle and sweep each side outward around the brush barrel as I dry, which trains the separation to stay open. Face-framing layers need the brush to turn slightly away from the face so the ends graze the cheekbone rather than poking inward. The round brush should be one size smaller than you think, because a barrel too wide lifts the roots too high and leaves the ends limp.
I skip product until the bangs are fully cool. A light mist of dry shampoo at the roots after styling adds grip that keeps the shape through the day without weighing down the fresh cut.
Mistakes I Have Made

The classic bangs mistake is cutting them too short, and tension is almost always the cause. Wet hair stretches. Pull it tight between your fingers, snip across, and the release makes each piece spring upward. What looked like eyebrow-grazing length at the mirror ends up halfway up your forehead, with months of awkward growing ahead.
Dry hair does the same thing if it has any wave or curl. Straight hair stays where you cut it, but textured hair coils up the moment the weight disappears. I learned this after ignoring the no-tension rule on a humid Tuesday, thinking a light pull would keep the line even. The center section shrank almost an inch. The sides, where I held more loosely, landed exactly where I wanted. The result was a crooked fringe that framed nothing well.
Now I cut bangs with the comb doing the work, not my fingers. Hair lies flat against the skin, no stretch, no surprise. If the texture is unpredictable, a dry trim of a quarter-inch at a time prevents the spring-back from ruining the shape.
Frequently Asked Questions
How do I cut bangs?
Use the specific technique for your chosen style. Curtain bangs need a downward slide cut from the bridge of the nose outward. Face-framing bangs get point-cut after over-directing hair to the center forehead. Squared bangs use small horizontal subsections cut straight across with zero tension. Piecey bangs work best with a hair razor weaving through horizontal subsections or deep point-cutting with scissors. Each method prevents the blunt shelf effect that makes home cuts look obvious.
What tools do I need to cut bangs?
Sharp hairdressing shears are non-negotiable; blunt scissors chew wet hair and leave a ragged line once dry. A hair razor helps for piecey, feathered ends, but only one actually made for hair. Add a fine-tooth comb for tension and clean sectioning, plus a few clips to keep the rest of your hair out of the way while you work. A round brush one size smaller than you expect rounds out the kit for styling after the cut.
How do I style my bangs after cutting?
Use a round brush horizontally underneath the bangs, pulling forward and slightly downward while blow-drying from above. For curtain bangs, sweep each side outward around the brush barrel to train the part open. Face-framing layers need the brush turning slightly away from the face so ends graze the cheekbone. Let bangs cool completely before adding a light mist of dry shampoo at the roots for grip that holds the shape without weighing anything down.